The journal
Best foot position on a rowing machine: a simple, secure setup
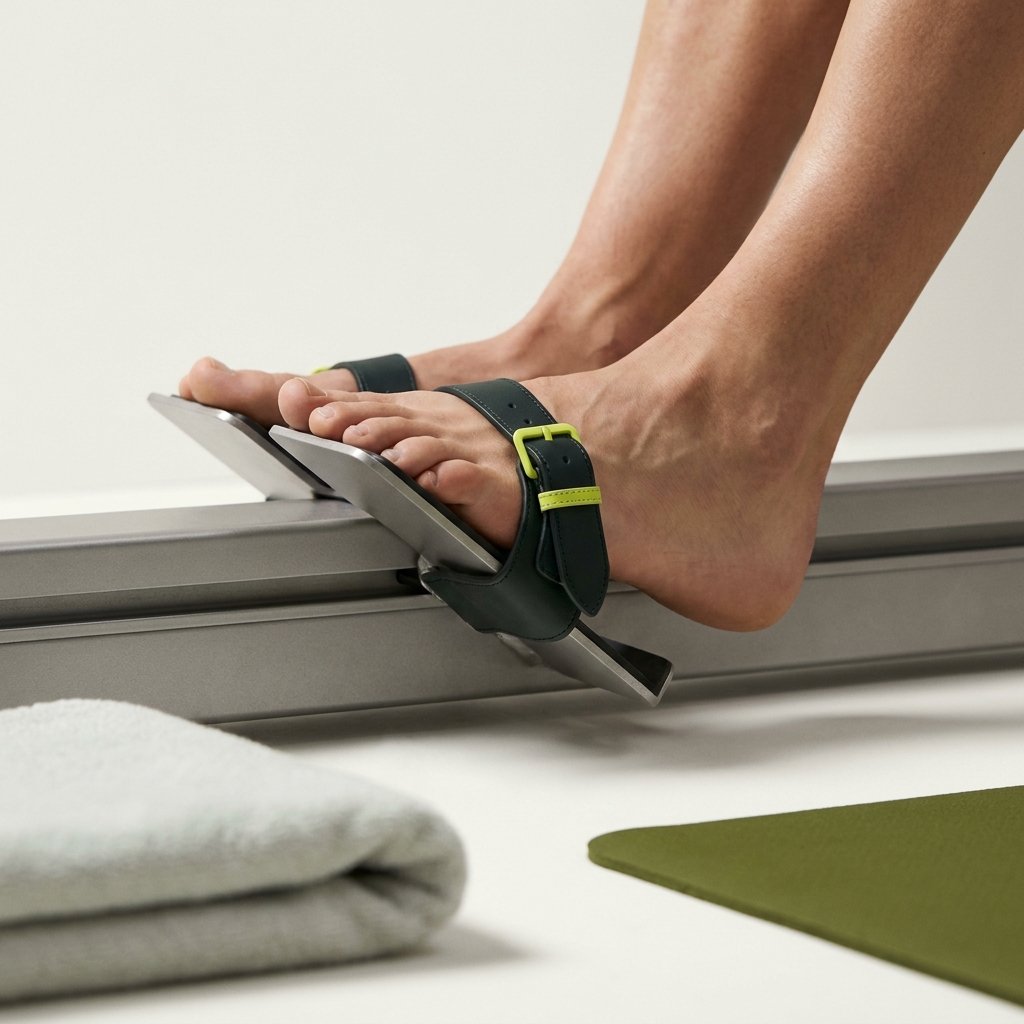
Set the strap across the ball of your foot and tighten it snugly. Adjust footplate height so the strap lands there, then test a few strokes to confirm stable feet without pulling on the straps.
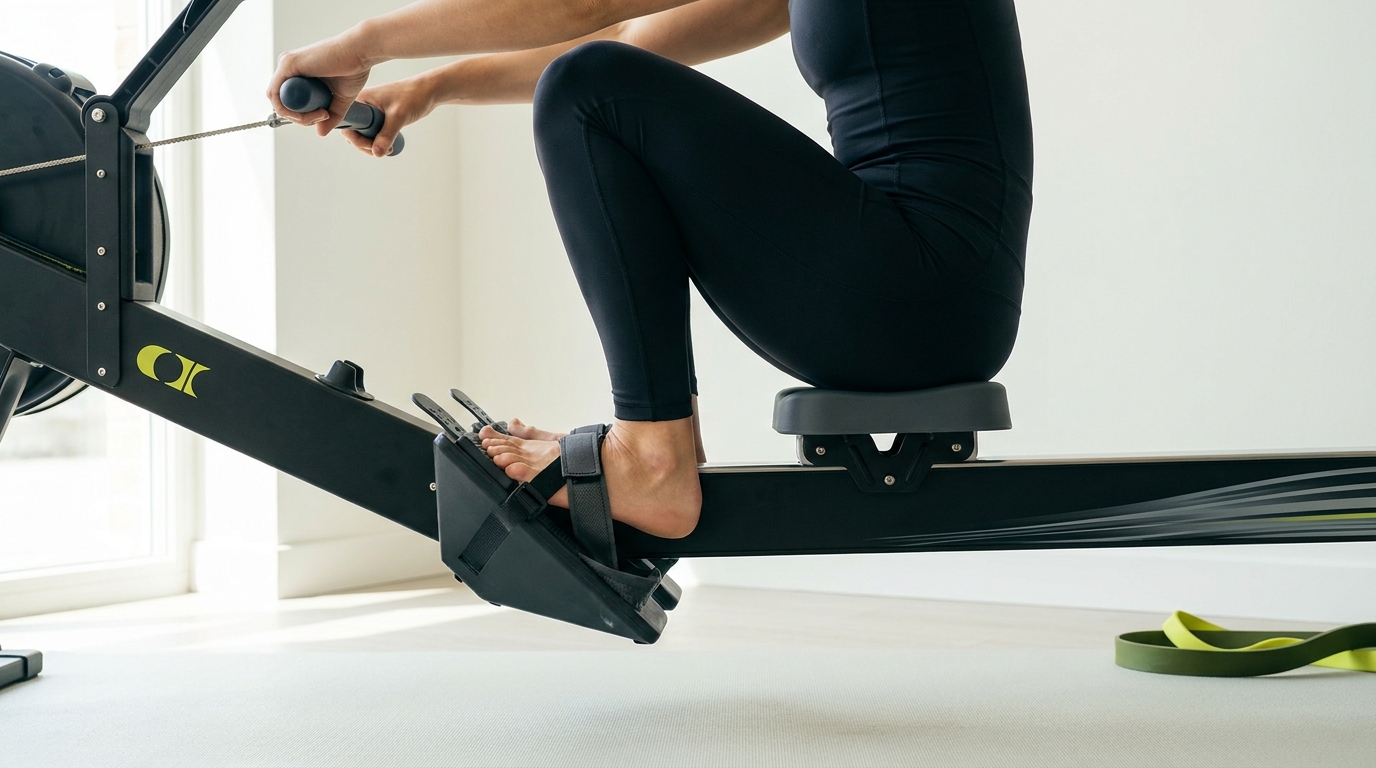
The best foot position on a rowing machine is with the strap crossing the ball of your foot, tightened snugly so it holds you securely without cutting off circulation. Adjust the footplate so the strap consistently lands there, then test a few easy strokes to confirm your feet stay planted at the finish and you are not pulling yourself forward with the straps on the recovery Concept2: The Necessity of Foot Straps.
How to set your feet in 3 steps
1) Line up the strap
Sit in, place your shoes on the footplates, and adjust footplate height so the strap crosses the ball of your foot. This position gives a solid connection for the drive and a secure finish without needing to over-tighten Concept2: The Necessity of Foot Straps.
2) Tighten comfortably snug
Pull the loose end of the strap to snug it down. It should feel secure but not pinch or numb your feet. Concept2 notes the strap doesn’t have to be completely tight; a little space is fine if your feet stay put Concept2: The Necessity of Foot Straps.
3) Test a few strokes
Row at easy pressure and check two things: your feet remain planted at the finish, and you do not use the straps to yank yourself forward on the recovery. Using the straps to pull into the catch can stress the hamstrings and rush the slide; let your hands and body move forward smoothly instead Concept2: The Necessity of Foot Straps.
Footplate height: quick adjustments that work
Most rowers have adjustable footplates. Use them to make sure the strap naturally lies across the ball of your foot. If the strap sits too high toward your ankle or too low over your toes, nudge the footplate up or down a notch and retest. Keep the goal simple: strap over the ball of the foot with a comfortable, secure fit Concept2: The Necessity of Foot Straps.
Optional drill: brief feet-out rowing for feedback
Rowing a short segment without your feet in the straps is a classic technique check. It encourages you to stabilize the finish with your core and reduces the habit of pulling yourself forward with the straps. Use this sparingly as a low-intensity drill, not for hard efforts Concept2: The Necessity of Foot Straps asensei: Feet-out rowing benefits and pitfalls.
Quick foot setup checklist before you row
Common mistakes to avoid
- Over-tightening straps. If the strap cuts into your foot or causes tingling, loosen it. Straps should be snug but not restrictive Concept2: The Necessity of Foot Straps.
- Straps too loose. If your feet slip at the finish, snug them more so you stay connected without having to crank them tight Concept2: The Necessity of Foot Straps.
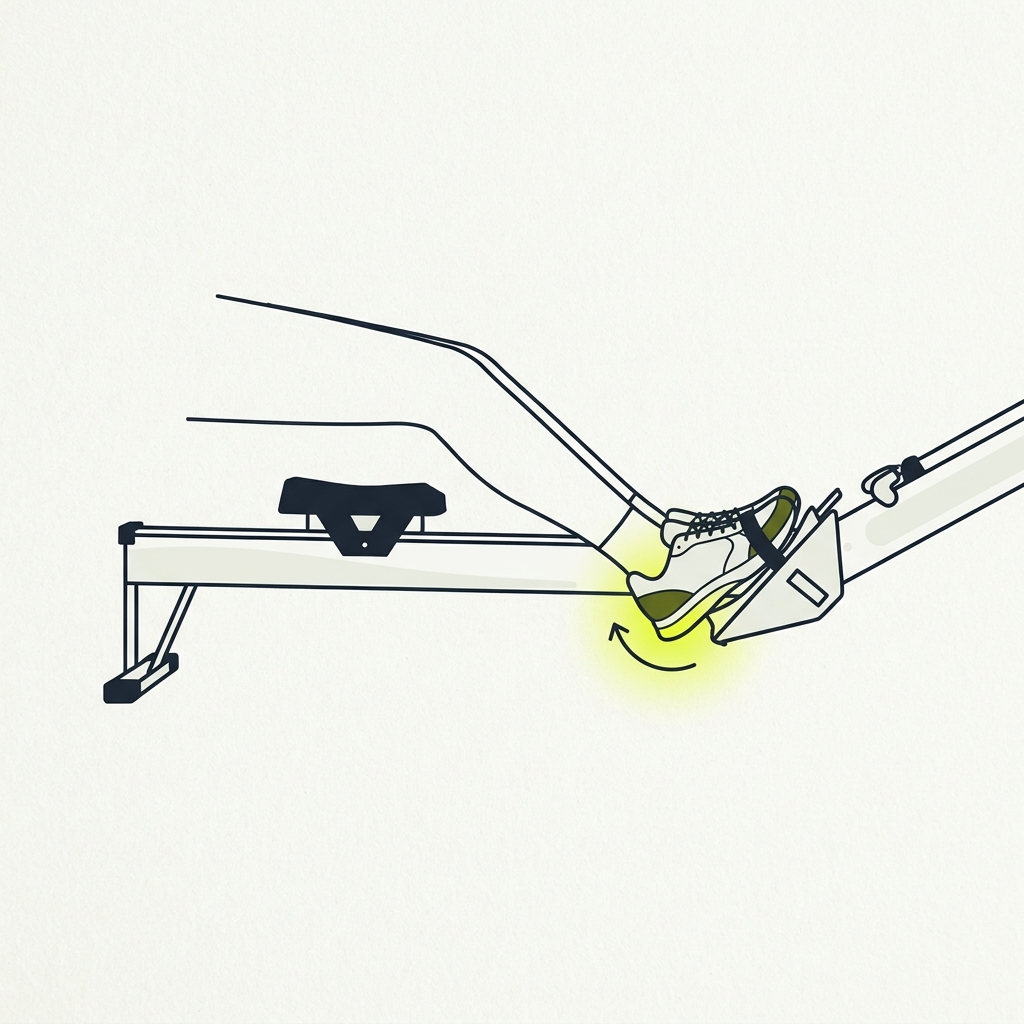
- Using straps to pull into the catch. This can rush the recovery and add hamstring strain. Let the hands move away, then the body, then the slide, rather than yanking forward with your feet Concept2: The Necessity of Foot Straps.
FAQs
Exactly where should the strap sit?
Over the ball of your foot. If it sits too close to your toes or toward your ankle, adjust the footplate so it crosses the metatarsal area consistently on both feet Concept2: The Necessity of Foot Straps.
How tight is tight enough?
Secure but not painful. The goal is stability at the finish without cutting off circulation. The strap doesn’t have to be fully tight; a little slack is acceptable if your feet stay put Concept2: The Necessity of Foot Straps.
Should I practice rowing without straps?
Briefly, at easy effort. Feet-out rowing can teach you to stabilize with your core and avoid relying on the straps, but use it as a short drill within a normal session Concept2: The Necessity of Foot Straps asensei: Feet-out rowing benefits and pitfalls.
If you like quick, equipment-setup guides, you may also find these helpful: How high should the seat be on a workout bike? and The proper seat position on a recumbent bike.