The journal
How to choose weight for resistance bands: a practical selection method
Learn how to choose resistance band strength with a simple testing routine, decision checklist, and a four-week progression plan.

Quick answer: how to choose resistance band strength
Use this one-sentence rule: pick a band that lets you complete your target rep range with full range of motion and controlled tempo, where the last two reps feel challenging but doable. This rule helps match resistance to whether you want endurance, hypertrophy, or strength.
For short-term decisions, think in terms of repetitions rather than numbers on the band: lighter bands for higher reps and long control, heavier bands for fewer reps with more loading. That means choosing by how the band changes the exercise at the end range of motion and whether you can maintain clean technique throughout. (Verywell Fit guidance)
Situations that call for lighter bands include early rehab, strict mobility work, and very high-rep endurance sets where the goal is movement quality rather than load. Use heavier bands when you want fewer reps, maximal muscle tension, or to replace weight for strength-oriented sets. Remember that band systems vary across manufacturers, and color coding is not standardized across brands, so always use a quick test set to confirm. (Consumer Reports on band variability)
Keep in mind the band tension increases as the band stretches, so a band that feels easy at the start of a movement may become substantially harder at the end range. That progressive increase is useful for some exercises and less helpful for others; choose accordingly.
One-sentence practical rule
One practical sentence to remember: choose the band that lets you finish the set with good form and a sense of effort on the last two reps.
When to choose lighter versus heavier bands
Choose lighter bands for mobility drills, controlled assistance, and high-rep endurance work where the focus is movement and joint comfort. Choose heavier bands when you want to load a movement for strength, reduce the number of reps, or replace weights where safe and appropriate.
Common reminder: treat band color coding as a starting hint, not a guarantee, because tension and stretch characteristics differ by manufacturer and material.
Why band strength matters: mechanics and common use cases
Resistance bands create load by storing elastic energy as they stretch; that elastic tension increases with stretch distance, so the force the band exerts changes through the range of motion. This matters because the pattern of tension influences where in the lift you feel the most load and whether the band helps or hinders control.
For example, a band that is relatively slack at the start of a squat will add most of its resistance near the top, whereas a band used for an assisted pull-up provides the most help at the bottom where the band is longest. That difference determines whether a band is useful for assistance, added overload, or purely for speed and control work.
a short benchmark test to judge band suitability using one compound movement
Typical use cases break down into assistance, loading, and mobility. Assistance reduces the effective load so you can complete difficult movements, like making pull-ups possible. Loading adds resistance to bodyweight or light-weight exercises, helping push hypertrophy or strength when machines or plates are not available. Mobility and warm-up use the lightest tensions to guide movement without creating excessive loading.
Because elastic tension changes through range of motion, the same band can behave like a light assistance band on one exercise and a moderate overload on another. That is why exercise selection and anchor setup are part of the strength-choice decision, and why a single 'label' or color often fails to predict real in-use resistance.
How bands create resistance
Bands resist by stretching, which increases the force they produce as length increases. The practical outcome is that banded exercises tend to load different portions of the lift unevenly compared with free weights, which is useful for some training goals but requires intentional selection so you do not overload weak joint positions. (research on elastic resistance)

Typical use cases: mobility, assistance, loading and progressive overload
Use light bands for mobility flows and tempo-focused high-rep work, moderate bands for hypertrophy-style sets, and heavier bands for low-rep strength or heavy assistance reduction. For progressive overload, plan changes in rep targets, tempo, or band combination as your primary ways to increase challenge safely.

Step 1: identify your training goal and typical rep ranges. If your primary aim is endurance or mobility, your target rep ranges will be higher and you should start with lighter tensions. If your aim is hypertrophy, choose a band that supports controlled 8 to 15 rep sets. For strength, select a band that allows 3 to 6 technically clean reps for band-resisted variations.
A step-by-step framework to pick the right band strength
Step 2: test a band with a simple benchmark set. Pick one compound movement you perform regularly from the exercise atlas, warm up, then do one controlled set in your target rep range. Use a moderate tempo, keep full range of motion, and score the set with three quick checks: did you keep control, did the last two reps feel challenging, and did form stay tidy? If the answer is yes to all three, the band is a reasonable starting choice.
Benchmark checklist for testing a band: 1) Choose a compound movement you know, 2) Warm up without the band, 3) Attach the band and perform a single set of 8 to 15 reps with controlled tempo, 4) Check technique on each rep and note whether the final two reps are challenging but clean, 5) If you fail control or form breaks, switch to a lighter band.
Step 3: adjust and create a band stack plan. If a single band does not provide a smooth progression, combine bands to fine-tune tension. Stacking two bands adds their tensions together in most practical setups, letting you create intermediate resistance steps. Track the combinations you use for each exercise and increase challenge over weeks by raising reps, tightening tempo control, or substituting a slightly heavier band.
When stacking, use bands that remain flat and free of twists, and re-test the combined feel using the benchmark set. Keep notes: which exercises you used the stack for, how many reps you completed cleanly, and any points in the movement where tension altered technique.
Step 1: identify your training goal and typical rep ranges
Link your goal to reps: endurance and mobility push higher reps, hypertrophy sits in the middle, strength uses lower reps. That mapping is the basis for choosing lighter, moderate, or heavier bands as a starting point.
Step 2: test a band with a simple benchmark set
The benchmark set is your safe, repeatable test. Focus on tempo and range of motion rather than how many colored bands you saw in a chart. If the band allows full range and the tempo remains controlled, it is probably the right choice.
Step 3: adjust and create a band stack plan
Stacking lets you fine-tune resistance when a single band jump is too large. Track the stacks and progress gradually to keep adaptation steady and avoid sudden spikes in load that compromise form.
Decision checklist: how to choose for specific exercises and populations
Beginners and rehabilitation clients should prioritize movement quality and range of motion. Choose bands that let the person move with a slow controlled tempo and complete 12 to 20 reps without pain. For many beginners, the lightest or second-lightest band in a kit is the right starting point because it supports learning the pattern while providing manageable assistance or resistance.
For the reader: which exercise will you prioritize today, strength, mobility, or assistance? Consider that choice before applying the checklist below.
How should I choose resistance band strength for different goals and exercises?
Choose a band that lets you complete your target rep range with full range of motion and controlled tempo, where the last two reps are challenging but doable; use lighter bands for mobility and high reps, moderate for hypertrophy, and heavier for low-rep strength work.
Intermediate lifters and sport-specific trainees often use a wider range. They might use light bands for warm-up, moderate bands for hypertrophy-style sets, and heavy bands for low-rep power or strength-focused work. The deciding factor is whether the band maintains control through the movement and places the peak load where you want it.
Compound lifts such as banded squats or rows usually require more resistance to create a meaningful overload than isolation movements like banded triceps extensions, where lighter tensions often suffice. Assistance movements, like assisted pull-ups, need bands that give substantial support at the bottom of the movement but still allow the trainee to finish the rep with active control.
Beginners and rehabilitation
Checklist for beginners and rehab: 1) Start with the lighter band, 2) Prioritize full range of motion and steady tempo, 3) Stop if joint pain appears and consult a coach, 4) Increase resistance only when form is consistently good across sessions.
Intermediate lifters and sport-specific training
Checklist for intermediates: 1) Use light bands for warm-ups and movement prep, 2) Use moderate bands for hypertrophy ranges and to accentuate time under tension, 3) Use heavier bands for low-rep power and strength work, 4) Track band stacks and progress methodically.
Choosing for compound lifts versus isolation and assistance work
Practical cue: if you need a band to produce a clear challenge through the full movement and it also allows controlled finishing reps, it is suitable. For compound lifts, err toward slightly more resistance; for isolation and assistance, choose lighter tensions that preserve technique.
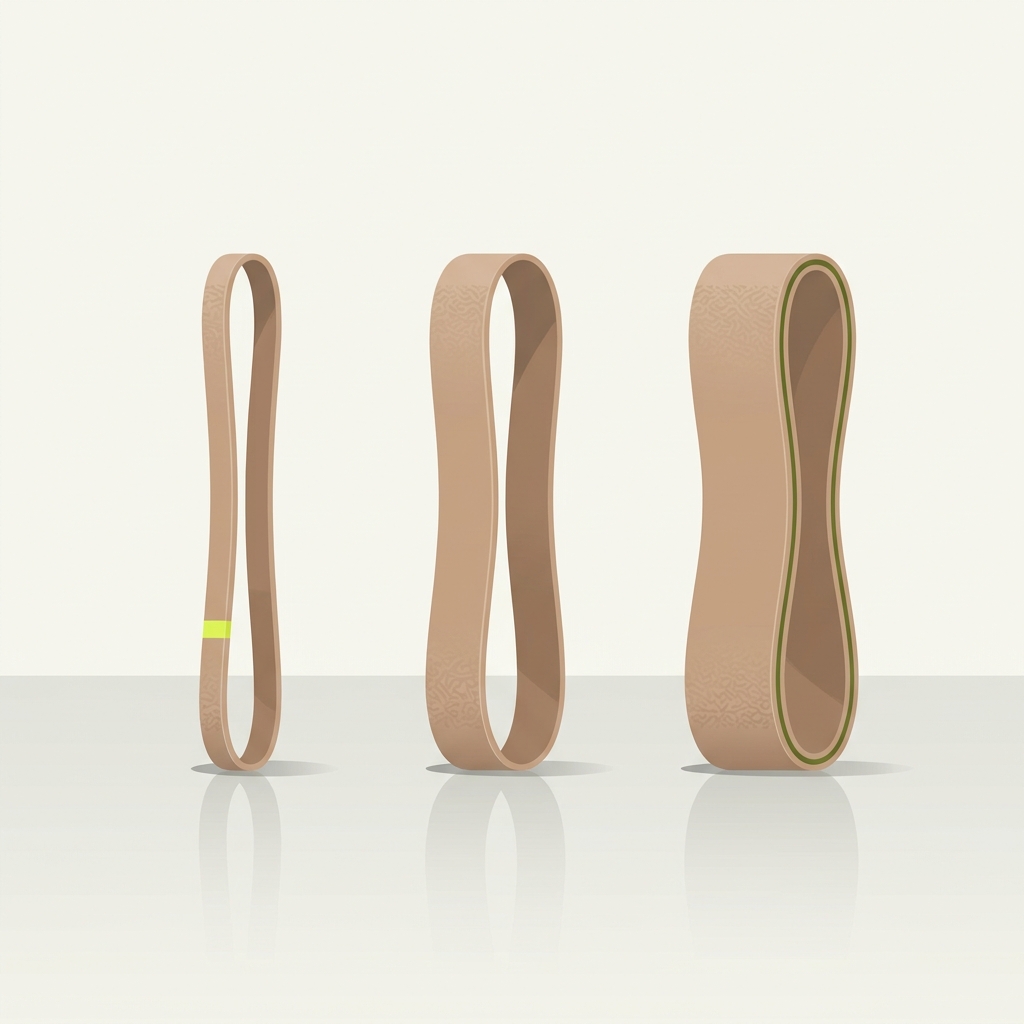
Common mistakes and troubleshooting
Overestimating color coding and brand labels is common. Color names or thickness numbers are not universal, so treat manufacturer color coding as a rough guide and use the benchmark set to verify what a band actually feels like in your setup.
Poor anchor points and incorrect setup change the effective resistance and can create unexpected loading or assistance. If the band is anchored too low or too high relative to the movement, the angle can increase or decrease tension at the critical point in the exercise. Quick fix: reposition the anchor and re-test the benchmark set until the movement feels natural. (see our safety guide)
Wrong anchor points often make a band feel either too easy or painfully hard; check that the band is not twisted, that loops are not knotted, and that any hooks or carabiners are secure. Re-run the single benchmark set after adjustments to confirm.
When to move up or down a band strength: move up if you can complete your target reps with perfect form and the final reps are no longer challenging. Move down if you lose control, your tempo collapses, or you experience sharp joint pain. Mild muscular discomfort and fatigue are normal, but persistent form breakdown is not.
Overestimating color coding and brand labels
Short troubleshooting: ignore the color chart until you have tested the band in your exercises. Record how it feels and what you used it for so you can repeat the choice later.
Wrong anchor points and setup errors
Quick fixes: change the anchor height, reduce slack to remove sudden snap, and retest. If the band jumps position during the movement, choose a different anchor or a band with a more secure grip.
When to move up or down a band strength
Decision rule: adjust based on control and progression, not on how the band looks. If you need a prompt, aim to change only one variable at a time: reps first, then tempo, then band strength.
Practical examples and a 4-week band progression plan
Example 1: beginner full-body plan using three band strengths. Week 1 uses the light band for movement practice and assistance on pull variations. Week 2 increases reps or tightens tempo. Week 3 introduces the medium band for compound lifts and maintains the light band for assistance. Week 4 adds short sets with the heavy band for low-rep strength practice on one movement only. The aim is gradual exposure: technique first, then load. See the two-day full-body plan for a simple template.
Example 2: using bands to progress a pull-up. Start with a band that provides enough assistance to complete 6 to 8 clean reps. Over weeks, reduce assistance by choosing a lighter band or by shortening the band, or increase difficulty by adding eccentric-only reps and then lowering assistance further. Track which band you used and how many reps you completed cleanly each session.
Quick reference: matching common exercises to band strength. Light: mobility flows, glute bridges for activation, banded lateral walks. Medium: rows, banded push patterns, banded squats for hypertrophy-range sets. Heavy: low-rep banded deadlifts or bands used for significant assistance reduction in pull-ups. Use this list as a starting point and always test with the benchmark set before committing.
4-week progression outline, practical version: Week 1 focus on tempo and technique with light band for warm-ups and assistance. Week 2 increase volume or tighter tempo with the same bands. Week 3 add medium band for key compound sets while keeping light band for assistance. Week 4 add one heavy-set per week or reduce assistance to intensify a chosen movement. Small, consistent steps reduce risk of form loss and help you measure real progress.
Example exercises and cues: banded squat use a medium band if you feel a steady challenge through the ascent, glute bridge activation often responds to lighter bands that permit full hip extension, and assisted pull-ups need enough support that the bottom position is performed without swinging.
Example 1: beginner full-body plan using three band strengths
Start conservatively: pick a light band for weekly movement practice, use a medium band once you can perform sets with stable technique, and reserve heavy bands for targeted low-rep work in week four.
Example 2: using bands to progress a pull-up
Progress by reducing assistance or changing rep emphasis. Track weeks and band choices and aim for incremental reductions in assistance while keeping quality up.
Quick reference: matching common exercises to band strength
Keep a simple log: exercise, band used, reps, and notes on where tension altered technique. That log is the fastest way to see which bands suit which movements in your setup.
Frequently asked questions
How do I test if a band is the right strength?
Do one controlled set in your target rep range and check for full range of motion, controlled tempo, and that the last two reps are challenging but doable.
Can I stack bands to get intermediate resistance?
Yes, stacking two bands increases resistance in most setups; re-test the combined feel with a benchmark set before using it in work sets.
How often should I change band strength for progress?
Change one variable at a time; increase reps or tempo first, then move to a heavier band when final reps are no longer challenging.
Choosing the right resistance band strength comes down to the demands of the movement and your ability to keep technique intact. Use the benchmark test and a small, trackable progression plan to find what works and then iterate based on your log. With consistent testing and small changes in reps, tempo, or band tension, you can use bands effectively for mobility, hypertrophy, and strength training without guessing.
References
- https://www.verywellfit.com/choosing-and-using-resistance-bands-1229709
- https://www.consumerreports.org/health/resistance-bands/best-resistance-bands-a1034688665/
- https://pmc.ncbi.nlm.nih.gov/articles/PMC7967475/
- https://repandrange.com/workouts/exercise-atlas
- https://repandrange.com/guides/resistance-band-safety
- https://repandrange.com/workouts/two-day-full-body
Product options for this topic
As an Amazon Associate I earn from qualifying purchases. These are researched options, not hands-on test results. Check the exact size or model, current price and availability on Amazon.
| Product option | Fit and limits to check | Retailer |
|---|---|---|
| Fit Simplify resistance loop bands, set of five | Short loop bands for suitable resistance exercises. Check the material for allergies, inspect for damage and keep stretched bands away from the face. | View on Amazon |