The journal
How do I know what weight my resistance band is? Practical guidance
Learn how to choose resistance band strength with simple tests and buying checks to match bands to your goals and keep workouts safe.

What resistance band strength really means and why it matters, how to choose resistance band strength
When people ask how to choose resistance band strength they usually mean: how hard will a band feel during an exercise. Band strength is not a fixed weight the way a dumbbell is. Instead, it describes the load a stretched band can produce as you pull it, so the same band can feel different depending on the exercise and how far you stretch it.
Think of a band like a spring that grows harder the more you stretch it. The words manufacturers use, such as color, number or level, are shorthand for that changing load, not a constant mass to lift. That is why two bands with the same color from different companies can feel different in your hands.
Key parts of the idea are tension, stretch or elongation, and the movement mechanics you use. Tension increases with stretch, and the same band will produce low tension at short stretches but much higher tension at long stretches or different angles. Your range of motion and the leverage in a movement change how much of that tension lands on the target muscle.
Practical takeaway: treat band labels as starting clues, not exact conversions. Learn how a band behaves in your chosen exercises and keep an eye on wear, small tears and thinning rubber. Inspect bands before each session and avoid any grips, knots or anchor points that concentrate stress on a tiny area, because that raises the chance of premature failure.

How to read a band's label and quick checks before you buy or use
Start by looking for standard items on the packaging or the product page: listed resistance range, color code, stated level and any information about width or thickness. Many product pages also include a manufacturer chart that maps colors to relative levels, though those charts are specific to that brand. Keep packaging or screenshots until you confirm the band matches how it feels in use.
At the store or when an online order arrives, do a quick visual and tactile check. Hold the band at each end and compare its thickness and width to other bands. Thicker or wider bands usually provide more resistance at the same stretch, all else equal, but the exact effect depends on material and construction. If possible, do a short pull by anchoring the band at a stable point and testing a small range of motion safely to judge perceived load.
When you examine a manufacturer's resistance chart, treat it as a guideline. Charts can say, for example, that a given color equals a mild, medium or heavy level, but they rarely translate to a standard pound or kilogram number that holds across brands. Cross-check the chart with customer Q and A or user reviews to see whether other buyers found the band lighter or heavier than expected.
Simple shopping checklist: note band width and thickness if listed, keep the product page or packaging, compare feel with other bands, and check return or exchange policies. If the band you receive feels significantly different from expectations, use the return option rather than forcing it into your routine.
Simple methods to estimate a band's resistance at home
A quick rep-based test gives useful, low-tech feedback. Pick a single exercise you know well, for example a standing row or a lateral raise, and choose a rep range that fits your goal. For strength work, use lower reps; for endurance or warm-up, use higher reps. Do controlled reps and note how many feel clean and challenging without breaking form.
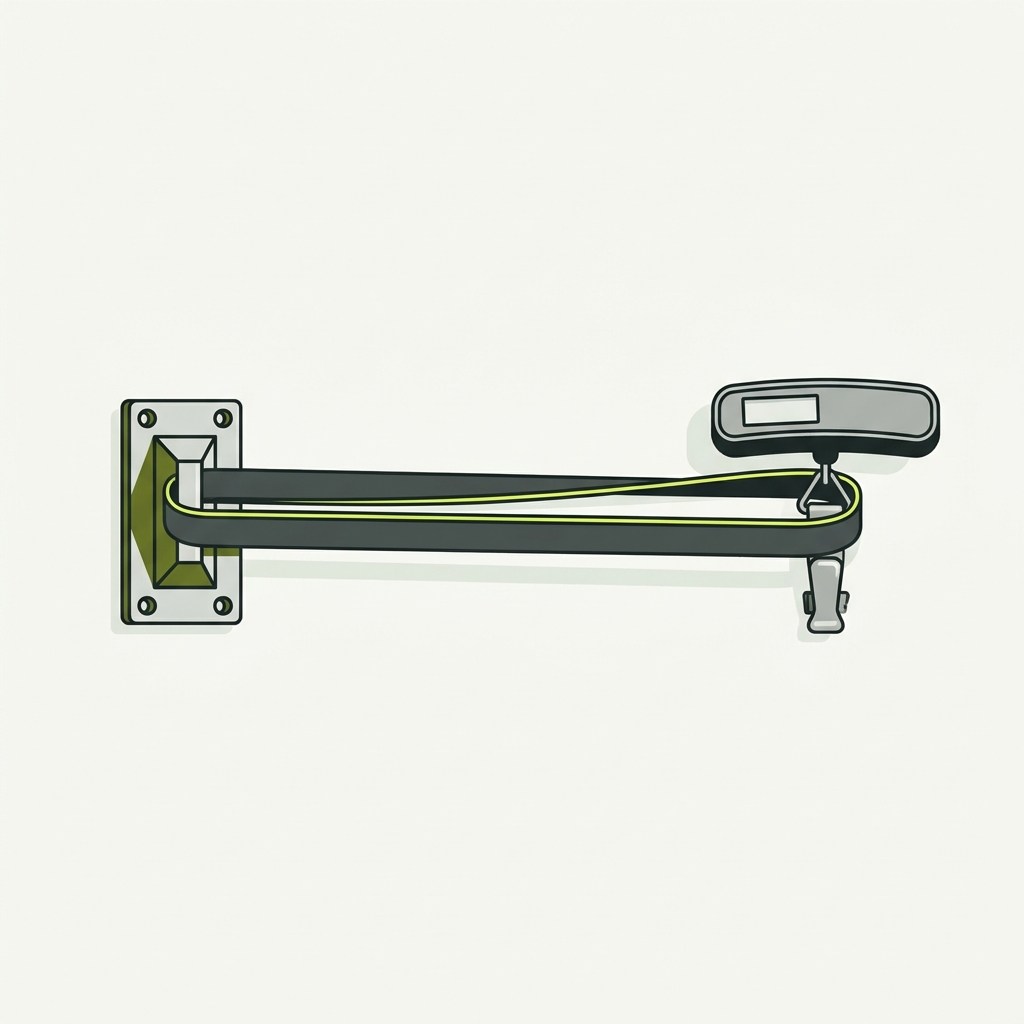
For a luggage-scale test, attach one end of the band to a secure anchor and the other end to the hook on a luggage or fish scale. Pull the band to a chosen stretch point and read the scale to get an idea of the pull force at that stretch. Do not claim exact pound equivalents across brands; use the measurement as a relative indicator and repeat the test a couple of times to check consistency. Always secure the anchor and control the band during release to avoid abrupt recoil.
How can I tell how much resistance a band provides without specialized equipment?
Use rep-based tests, compare the unknown band to a band you already trust, and, if available, use a luggage or fish scale to measure pull at a chosen stretch; always test safely with secure anchors and controlled motion.
Another useful home method is direct comparison. If you have a band you already trust, try the same movement with the unknown band and the known band, keeping tempo and range of motion the same. Compare perceived effort, how much the joint moves, and how many quality reps you get. That tells you whether the new band sits above or below your known reference.
Safety steps for all tests: stand with a stable base, use a partner when possible, secure the band under your foot or to a fixed point, and keep fingers away from anchor points during recoil. If you feel sharp pain, stop and inspect the band. These low-tech methods allow you to learn how a band behaves for your body and your chosen exercises without expensive tools.
How to choose band strength for different goals
Decide what you want a band to do. Heavier bands suit low-rep strength work where you need high resistance, while lighter bands help mobility, warm-ups, or precise rehab movements. Mid-range bands tend to be best for conditioning, higher-rep hypertrophy work and general gym use. That decision logic helps whether you buy a single band or a small set.
Match band strength to exercises and muscle groups. Big muscle groups like legs and back generally need more resistance than small stabilizers around the shoulder. For compound pulling and pushing, pick a band that allows you to complete your target rep range with good form. For small, isolated movements, choose a lighter band to preserve control and tempo.
Quick three-step guide to pick a band for a session
Buying strategy advice: a single band can be useful for a focused need, such as light mobility or heavy assistance on pull-ups. A progressive set is more flexible for steady gains. When selecting a set, choose bands that overlap slightly in perceived resistance rather than leaving gaps; that gives smoother progression as you get stronger.
If you are working on rehabilitation or have a medical condition, consult a qualified professional before using bands for rehab exercises. A clinician can recommend appropriate tension and safe progressions tailored to your needs.
Common mistakes, safety pitfalls and how to avoid them

A frequent mistake is assuming color codes match across brands. That leads to buying the wrong level. Another is testing a band by overstretching it beyond the recommended range to see how strong it is; that can warp the material and shorten its life. Avoid anchoring to unstable points or wrapping a band in a way that creates sharp stress concentration on a single spot.
Store bands out of direct sunlight and away from heat, and do simple inspections before each use. Look for thinning, uneven texture, small cracks or areas where the color has faded atypically. If you find anything that looks like a tear or deep abrasion, retire the band. Regular inspection is a conservative and practical habit that reduces the chance of snap failure during exercise.
Anchor points matter. Use rigid fixtures or your foot as an anchor where appropriate, and avoid door handles or furniture that can move or break. When releasing tension, do so slowly and under control. Sudden recoil increases risk to hands, face and other parts of the body. If you ever feel pain that is sharp or different from normal muscle effort, stop and reassess the band and movement.
Replace bands proactively rather than waiting until a failure occurs. Small defects often precede a bigger tear. For safety, when in doubt about a band’s condition, choose the more conservative option and retire or replace the item.
Practical examples, sample selections and a quick wrap-up
Scenario 1: A beginner seeking general fitness. Start with a medium band that allows 12 to 20 clean reps on compound moves like rows and squats using band loops or anchored bands. Use the rep-based test to confirm the band lets you complete higher reps with good form. Keep the return option handy if the band feels much lighter or heavier than expected.
Scenario 2: An intermediate lifter aiming to add strength. Pick a heavier band that challenges you in lower rep ranges for core lifts or assistance work. Use the luggage-scale or rep comparison tests to confirm the band raises load appropriately for your target movements. Build progress by adding reps, increasing stretch (safely), or moving to a slightly stronger band when reps become easy.
Scenario 3: A rehab user needing light tension. Choose a light band for controlled, pain-free range of motion. Start with small stretches, focus on slow quality repetitions, and consult a clinician for specific tension guidance. If in doubt, err on the lighter side and prioritize control and consistent movement quality.
Buying checklist to carry with you or save when ordering online: note listed width and thickness, keep the product page or packaging, perform a rep-based or simple pull test, inspect for wear, verify return options, and choose overlapping bands for sets. These steps reduce guesswork and make returns or exchanges simpler if a band does not meet expectations.
Final summary: rely on simple tests and your own experience rather than treating labels as absolute. Use rep-based checks, compare with a known band, and take safety-first precautions when testing and anchoring. With a small, thoughtful approach you can select bands that fit your goals and evolve your collection over time.
Frequently asked questions
How do I test a band if I have no tools?
Use a rep-based test with a single familiar exercise: choose a rep range for your goal and note whether the band allows controlled, challenging reps without losing form.
Can I compare colors across brands?
No, color codes are brand-specific; compare bands by feel, thickness and simple tests rather than by color alone.
When should I replace a resistance band?
Replace a band if you see thinning, cracks, deep abrasions, or if it behaves inconsistently; when in doubt, choose safety and retire the band.
Choosing bands is a mix of measurement and experience. Use the checks and tests here to build confidence, start conservatively, and let small progressions guide future purchases. With cautious testing, good inspection habits and a goal-focused approach, you can select bands that support safe progress in strength, conditioning or rehab.
References
- https://repandrange.com/workouts/exercise-atlas/supported-row
- https://repandrange.com/guides/resistance-band-safety
- https://repandrange.com/workouts
- https://weighinginstru.com/a-news-how-to-test-weight-of-resistance-bands.html
- https://npbarbell.com/articles/2019/9/24/1b5ehwrtlv4let9gpktwiujzrdpoaw
- https://fitness.stackexchange.com/questions/40831/how-to-determine-the-resistance-of-resistance-bands-when-it-is-not-marked
Product options for this topic
As an Amazon Associate I earn from qualifying purchases. These are researched options, not hands-on test results. Check the exact size or model, current price and availability on Amazon.
| Product option | Fit and limits to check | Retailer |
|---|---|---|
| Fit Simplify resistance loop bands, set of five | Short loop bands for suitable resistance exercises. Check the material for allergies, inspect for damage and keep stretched bands away from the face. | View on Amazon |