The journal
How often should resistance bands be checked?
Check resistance bands and any handles before every use. Discard bands with cuts, cracks, punctures, or noticeable wear, and store them away from heat and sunlight.
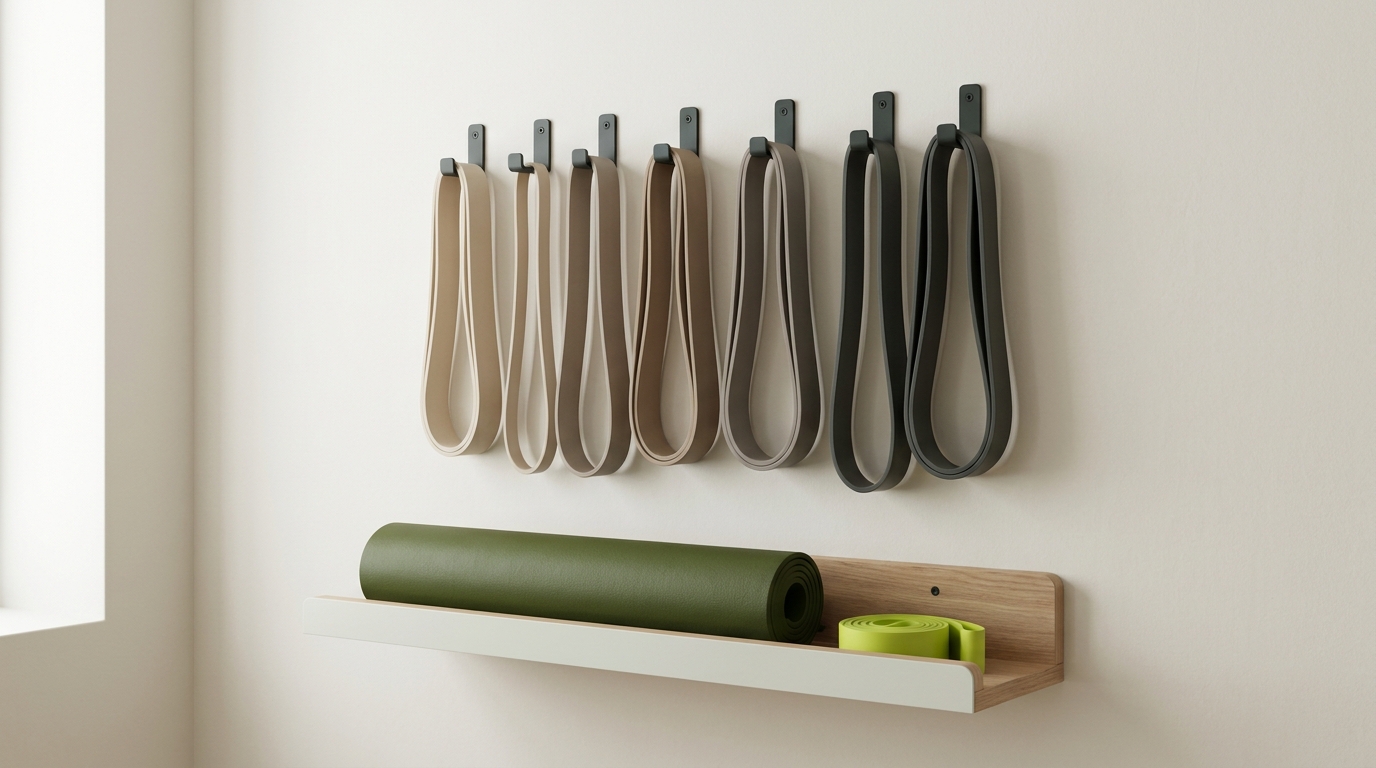
Check resistance bands before every use. Look over the full length of the band and any handles or attachments, and discard it if you see cuts, nicks, cracks, punctures, or suspicious discoloration. Do not try to repair a damaged band. This pre-use check is explicitly recommended in safety guidance and helps prevent snap-back injuries (https://www.thesilverlining.com/safety-tips/resistance-band-safety; https://www.healthline.com/health/how-to-use-resistance-bands).
What to check every time (takes 30-60 seconds)
1) Band surface and edges
Scan for cuts, nicks, cracks, fraying, or punctures along the entire band. Any flaw is a reason to retire the band (https://www.thesilverlining.com/safety-tips/resistance-band-safety).
2) High-stress points
Pay extra attention to connection points (where a handle or clip meets the band) because these areas are common failure points and should be checked before every use (https://www.thesilverlining.com/safety-tips/resistance-band-safety).
3) Quick feel test
Run your fingers along the band to feel for thin spots or rough patches. If you notice any irregularity or a small tear, do not use the band (https://www.healthline.com/health/how-to-use-resistance-bands).
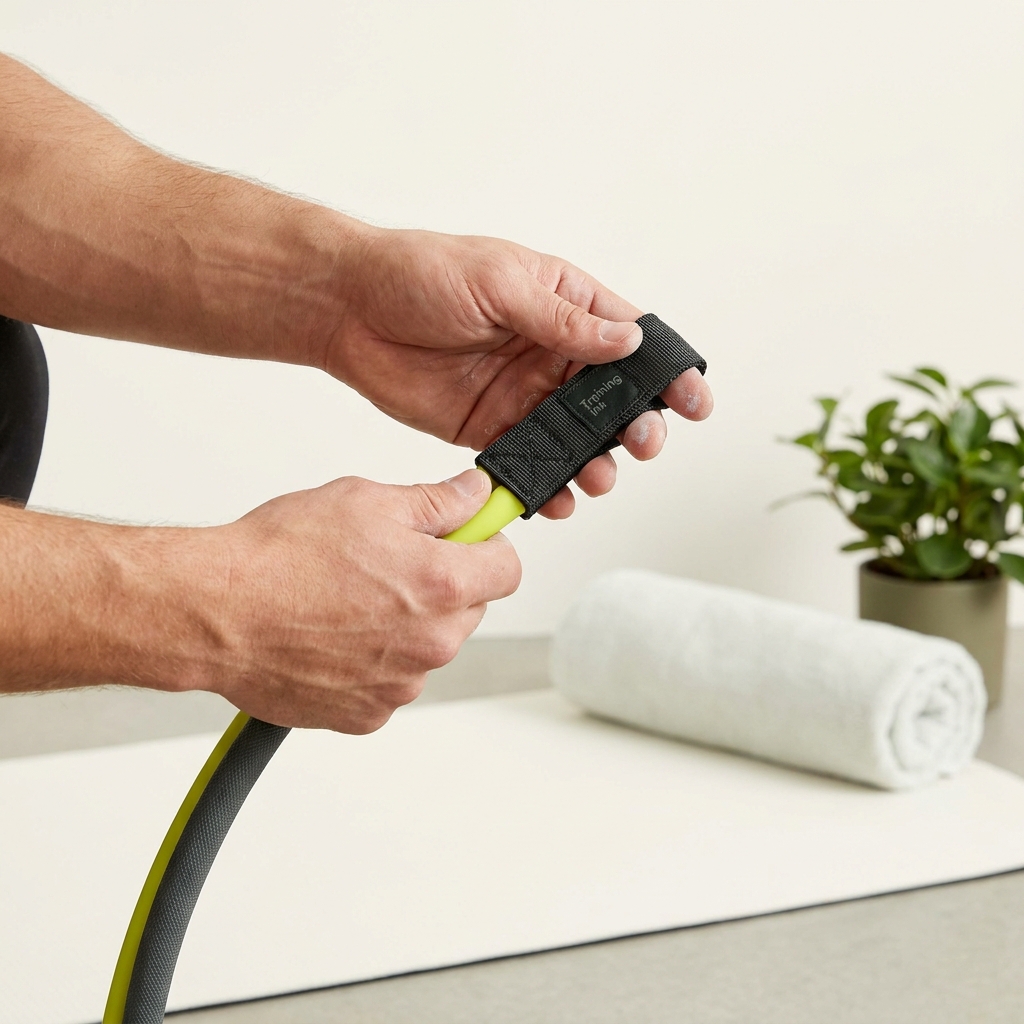
How to do the pre-use inspection, step by step
Step 1: Straighten and scan
Lay the band flat or hold it taut. Look for visible defects and discoloration end to end, then check both attachment points or handles closely (https://www.thesilverlining.com/safety-tips/resistance-band-safety).
Step 2: Tactile pass
Lightly pinch and slide along the band. Stop if you feel thinning, stickiness, or a nick. A tear can propagate quickly when stretched (https://www.healthline.com/health/how-to-use-resistance-bands).
Step 3: Decide
If you find any flaw, retire the band immediately; never attempt a repair such as taping or gluing (https://www.thesilverlining.com/safety-tips/resistance-band-safety). Some manufacturers also advise replacing a band that has become sticky or does not return to its original length after stretching (https://powerbands.com.au/blogs/news/resistance-band-care-guide?srsltid=AYCX9vLU9uIuB8fvCOzNX-zsN_QbQCKgurnxma1uDXzJzq-shpJnUk95).
One-minute pre-use resistance band check
Storage and handling that reduce wear
Keep bands cool, clean, and out of the sun
Wipe bands with a damp cloth, store them indoors away from direct sunlight and heat sources, and avoid extreme temperatures. These steps help reduce material degradation (https://www.thesilverlining.com/safety-tips/resistance-band-safety). Some manufacturers also suggest occasional cleaning with mild soapy water and thorough air-drying; always follow your band maker’s care instructions (https://powerbands.com.au/blogs/news/resistance-band-care-guide?srsltid=AYCX9vLU9uIuB8fvCOzNX-zsN_QbQCKgurnxma1uDXzJzq-shpJnUk95).
Use smooth anchors and sensible loading
Avoid sharp edges and rough surfaces that can nick the band. Use purpose-made door anchors or smooth, rounded anchor points, and move with control rather than jerking the band (https://powerbands.com.au/blogs/news/resistance-band-care-guide?srsltid=AYCX9vLU9uIuB8fvCOzNX-zsN_QbQCKgurnxma1uDXzJzq-shpJnUk95; https://www.thesilverlining.com/safety-tips/resistance-band-safety).
Related: Can you wash resistance bands? Cleaning, drying and storage • How to choose weight for resistance bands: a practical selection method
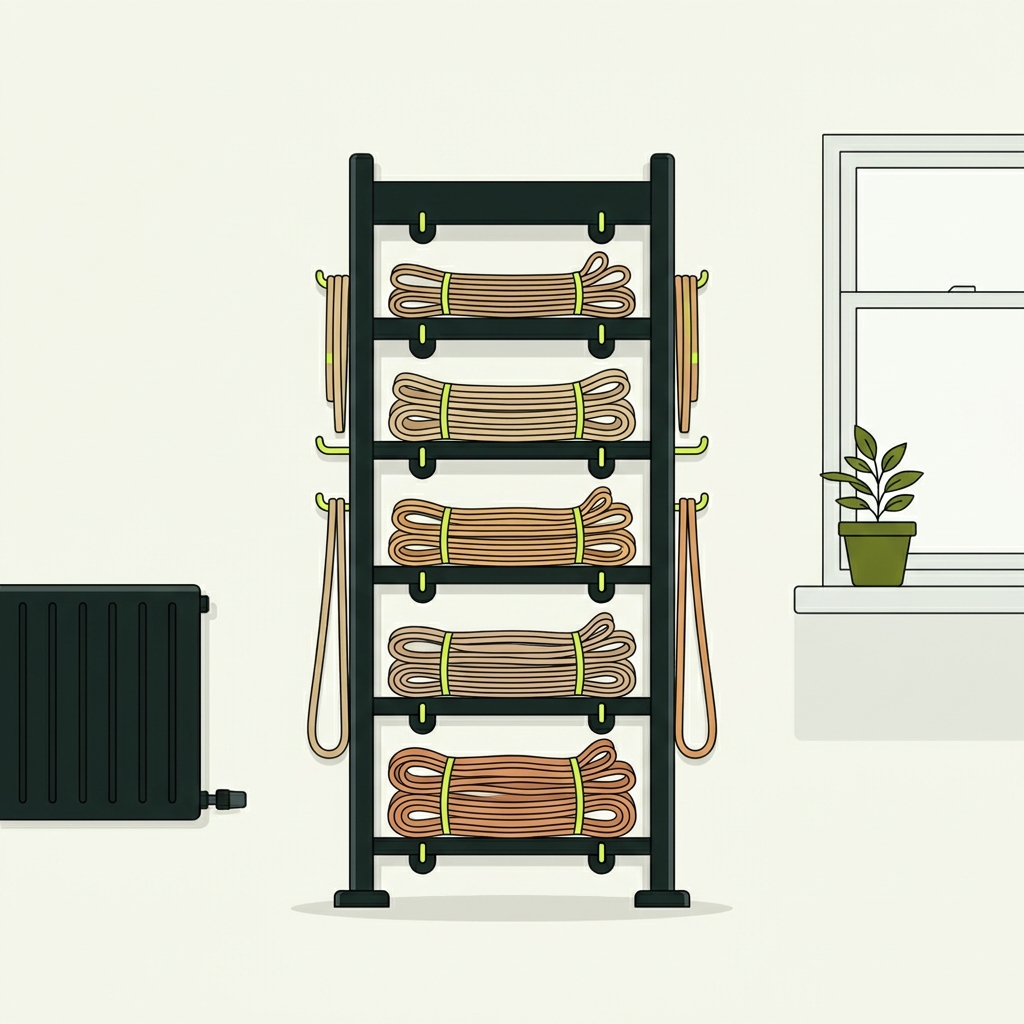
When to replace a resistance band
- Any visible tear, cut, crack, puncture, or fraying (https://www.thesilverlining.com/safety-tips/resistance-band-safety).
- Damage or separation at handles, clips, or other attachment points (https://www.thesilverlining.com/safety-tips/resistance-band-safety).
- Manufacturer-advised signs such as persistent stickiness or failure to return to original length after use (https://powerbands.com.au/blogs/news/resistance-band-care-guide?srsltid=AYCX9vLU9uIuB8fvCOzNX-zsN_QbQCKgurnxma1uDXzJzq-shpJnUk95).
Common safety mistakes to avoid
- Skipping pre-use checks. Small defects can turn into sudden failures under tension (https://www.healthline.com/health/how-to-use-resistance-bands).
- Letting go under tension or jerking movements. Maintain control throughout each rep to reduce snap-back risk (https://www.thesilverlining.com/safety-tips/resistance-band-safety).
- Anchoring on sharp or abrasive edges. Use smooth, purpose-made anchors to prevent nicks (https://powerbands.com.au/blogs/news/resistance-band-care-guide?srsltid=AYCX9vLU9uIuB8fvCOzNX-zsN_QbQCKgurnxma1uDXzJzq-shpJnUk95).

Bottom line: check bands before every use, retire any band with defects, and store them away from heat and sunlight. When in doubt, don’t use it (https://www.thesilverlining.com/safety-tips/resistance-band-safety).
Related guides
Product options for this topic
As an Amazon Associate I earn from qualifying purchases. These are researched options, not hands-on test results. Check the exact size or model, current price and availability on Amazon.
| Product option | Fit and limits to check | Retailer |
|---|---|---|
| Fit Simplify resistance loop bands, set of five | Short loop bands for suitable resistance exercises. Check the material for allergies, inspect for damage and keep stretched bands away from the face. | View on Amazon |