The journal
How to find the right jump rope length
Quick method to size a jump rope, step-by-step adjustment for different rope types, common mistakes, and a practical pre-jump checklist.
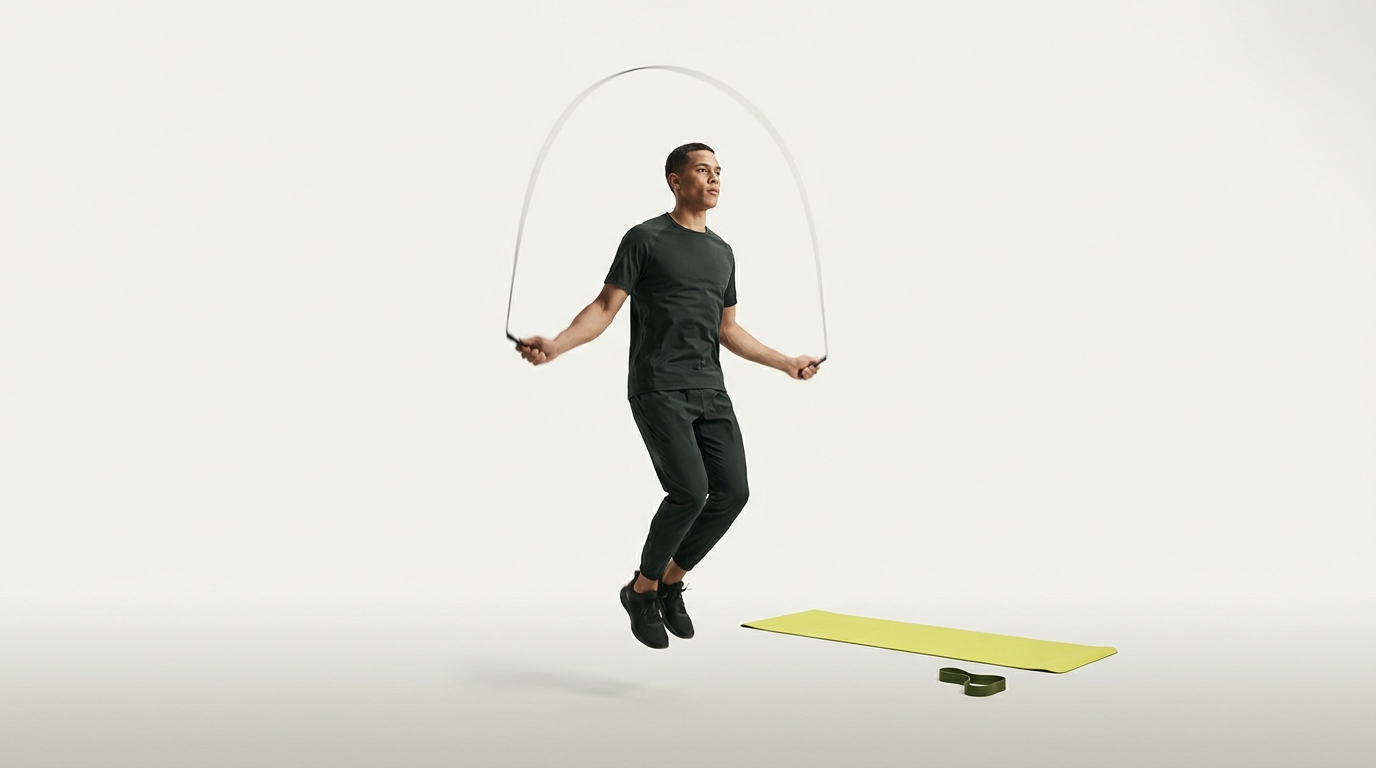
Stand on the midpoint of the rope and pull the handles straight up along your sides. For most beginners, the handle tops should reach just below the armpits. As your timing improves, you can shorten so the handles land around the lower to mid-chest for a faster, tighter arc (https://www.jumpropedudes.com/blog/how-to-size-your-jump-rope/, https://swissskip.ch/blogs/news/how-to-properly-size-your-jump-rope?srsltid=AYCX9vI8wPVQpy7YBYlmyDOvXBR6rxrNkClLsKdGgW95k4ULUTX58FTJ).
Why this works (and what to do if it feels off)
A rope that is too long drags on the floor and slows your rotation. A rope that is too short clips your feet or head and forces exaggerated jumps. The stand-on-center check puts you in a workable middle ground you can fine-tune in minutes (https://swissskip.ch/blogs/news/how-to-properly-size-your-jump-rope?srsltid=AYCX9vI8wPVQpy7YBYlmyDOvXBR6rxrNkClLsKdGgW95k4ULUTX58FTJ). Start near the armpit mark for learning. As you become efficient and want quicker rotations or double-unders, shorten incrementally toward the chest target (https://swissskip.ch/blogs/news/how-to-properly-size-your-jump-rope?srsltid=AYCX9vI8wPVQpy7YBYlmyDOvXBR6rxrNkClLsKdGgW95k4ULUTX58FTJ).
Step-by-step: adjust an adjustable rope
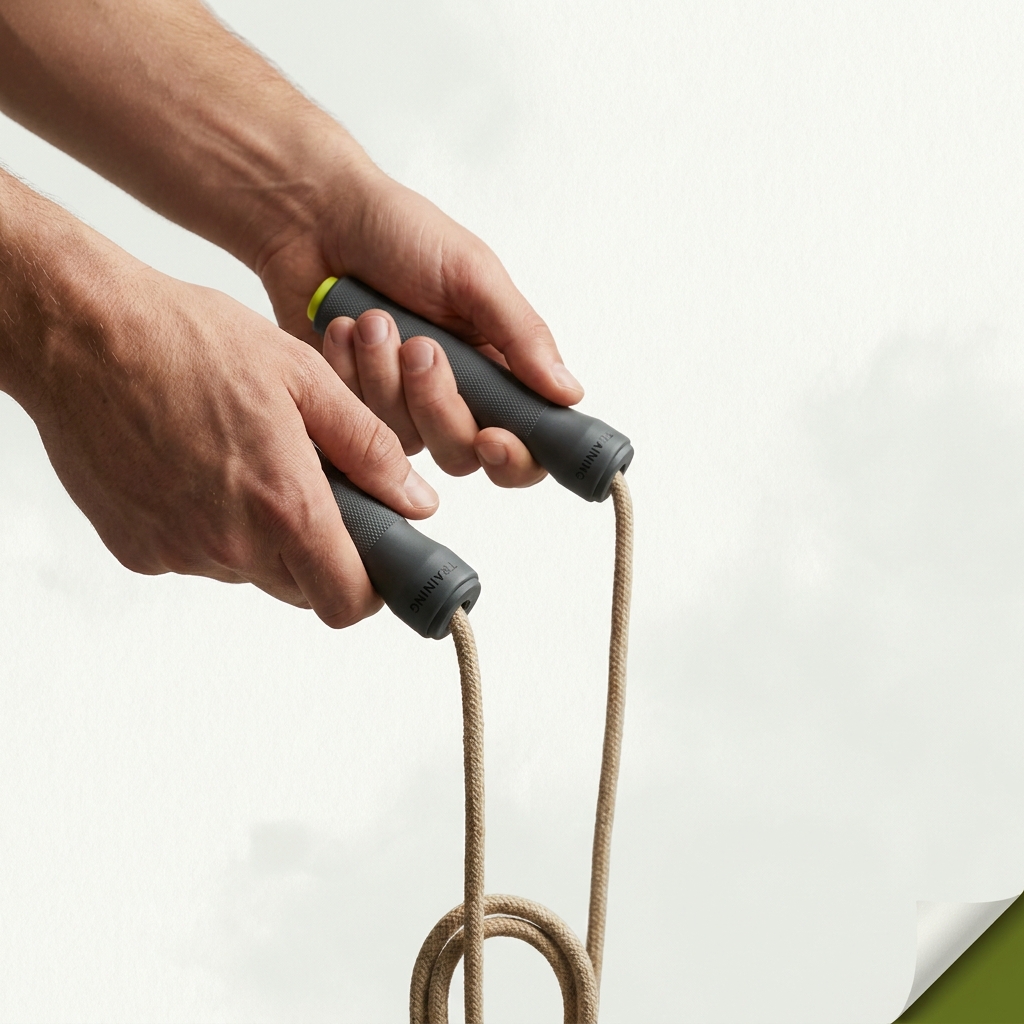
- Find the midpoint: fold the rope so handles meet; the loop at the fold marks center. Stand on that midpoint.
- Set your target: pull handles up along your sides to just below armpits for a forgiving beginner setup, or lower-to-mid chest for a faster, closer rope (https://www.jumpropedudes.com/blog/how-to-size-your-jump-rope/, https://swissskip.ch/blogs/news/how-to-properly-size-your-jump-rope?srsltid=AYCX9vI8wPVQpy7YBYlmyDOvXBR6rxrNkClLsKdGgW95k4ULUTX58FTJ).
- Mark the spot: note where the cord meets the handle at your chosen height.
- Open the adjustment: loosen the set screw, unclamp the internal teeth, or slide the cap per your rope’s mechanism (check your rope’s instructions).
- Shorten a little: feed the cord through to your mark and secure the mechanism.
- Test before trimming: do a few light jumps. If it feels long, shorten 0.5-1 cm and retest. Cutting is permanent; confirm before you cut (https://www.jumpropedudes.com/blog/how-to-size-your-jump-rope/).
- If you prefer reversible tweaks: tie a small overhand knot in the cord just below the handle to shorten without cutting. This knot method is quick and undoable later (https://swissskip.ch/blogs/news/how-to-properly-size-your-jump-rope?srsltid=AYCX9vI8wPVQpy7YBYlmyDOvXBR6rxrNkClLsKdGgW95k4ULUTX58FTJ).
Non-adjustable or buying new? Use a height rule as a starting point
If you must choose a fixed length, a common guideline is your height plus 3 feet for a starting estimate. Then verify with the stand-on-center check and test jumps, adjusting future purchases based on feel and technique (https://rxsmartgear.com/pages/how-to-size-your-jump-rope?srsltid=AYCX9vJ7wX8e14XUY-syzBFRk4LpXMFPcStsfsLkBTpils1SD3Wx8gVR).
Quick checks and common mistakes
- Cutting too soon: many ropes allow tiny, precise adjustments. Cut only after repeated tests; you cannot undo a cut (https://www.jumpropedudes.com/blog/how-to-size-your-jump-rope/, https://swissskip.ch/blogs/news/how-to-properly-size-your-jump-rope?srsltid=AYCX9vI8wPVQpy7YBYlmyDOvXBR6rxrNkClLsKdGgW95k4ULUTX58FTJ).
- Ignoring the mechanism: speed, beaded, and weighted ropes adjust differently. Learn your rope’s clamp, cap, or bead arrangement before changing length (https://swissskip.ch/blogs/news/how-to-properly-size-your-jump-rope?srsltid=AYCX9vI8wPVQpy7YBYlmyDOvXBR6rxrNkClLsKdGgW95k4ULUTX58FTJ).
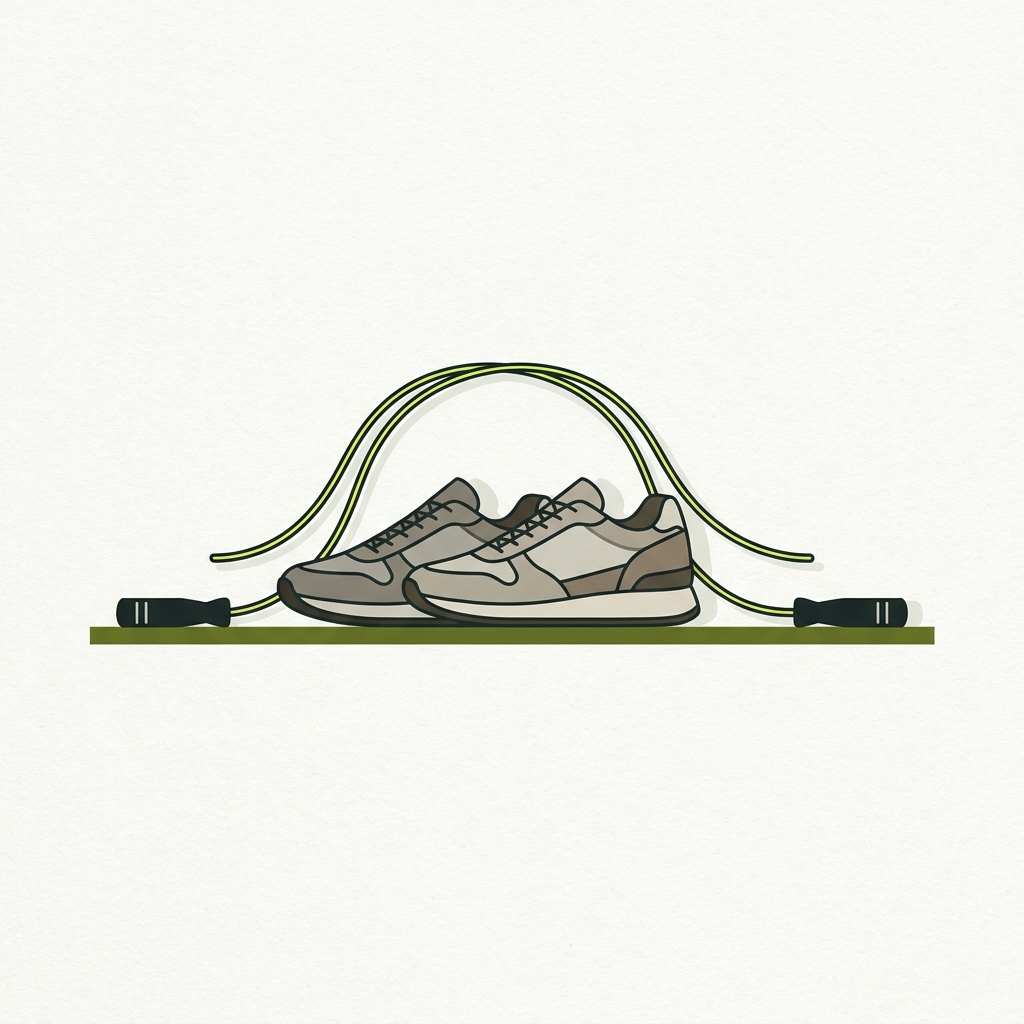
- Skipping the test set: always do a few gentle jumps to confirm the arc clears your feet and the mechanism holds.
Pre-jump sizing and safety checklist
Practice and next steps
Lock in your length, then practice with relaxed shoulders, hands near your waist, and wrist-driven turns. If you are building a simple weekly plan, explore our workout templates for structure you can repeat (/workouts). For a short warm-up routine to pair with jump practice, see our 5-minute ideas (/articles/how-to-warm-up-before-lifting-weights-5-minute/).
FAQ
Do handles count when I size the rope?
When you use the stand-on-center check, you are judging overall setup with the handles included. For beginners, the handle tops landing just below the armpits is a common target (https://www.jumpropedudes.com/blog/how-to-size-your-jump-rope/).
Should I go shorter for double-unders or freestyle releases?
Many experienced jumpers prefer a slightly shorter setup so the rope tracks closer to the body. A chest-height target often supports faster rotations and control once your fundamentals are solid (https://swissskip.ch/blogs/news/how-to-properly-size-your-jump-rope?srsltid=AYCX9vI8wPVQpy7YBYlmyDOvXBR6rxrNkClLsKdGgW95k4ULUTX58FTJ).